If you manage SharePoint and Copilot for a small or mid‑sized business, you already know the two truths of modern IT: your data sprawls faster than your team can index it, and AI is only as good as the data it can safely discover. Microsoft Purview gives you a practical way to get ahead of both problems without hiring an army.
This guide shows you how to build a searchable, governed Microsoft Purview data catalog. One that makes data findable for your users and governable for you while keeping Copilot on a tight, compliant leash.
Think of Microsoft Purview as two complementary solutions working together to power your data discovery experience:

That separation is important for SMBs: you can scan and organize widely without creating new data silos, and you can grant catalog visibility without granting access to the underlying data itself.
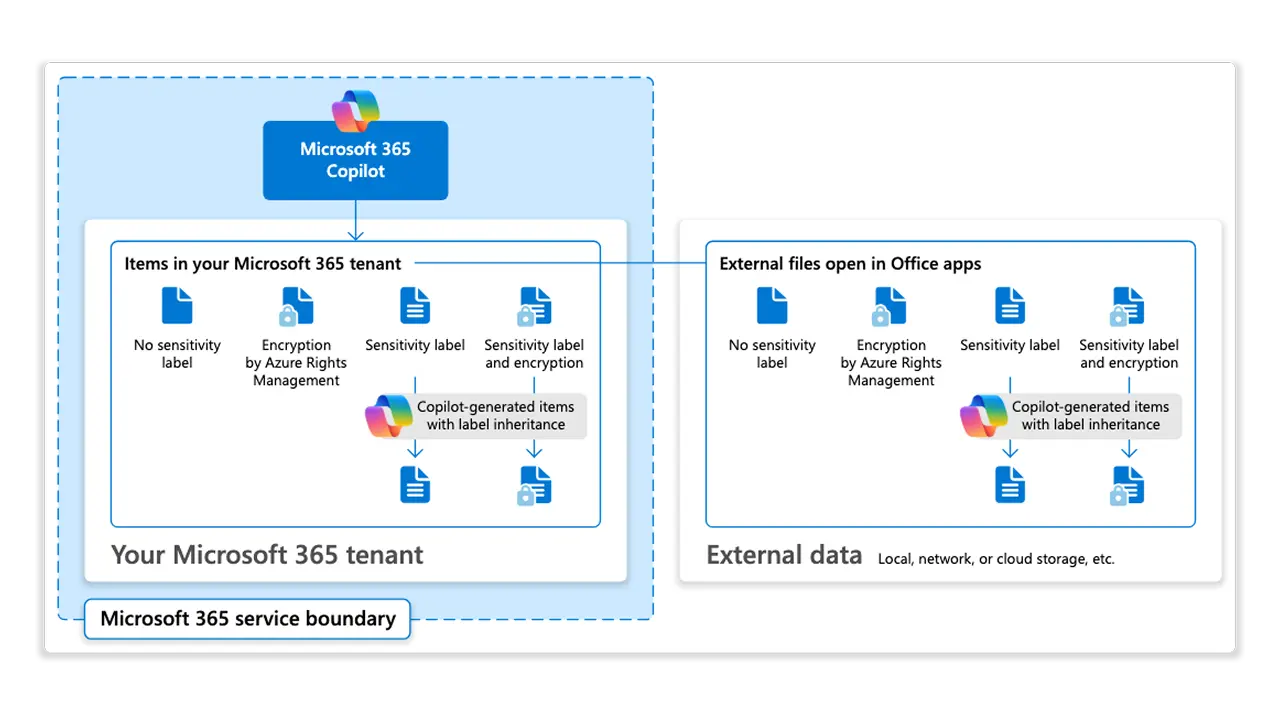
For Copilot safety, combine Purview sensitivity labels (Copilot) and a Purview DLP policy for Copilot with catalog scoping. Copilot honors your existing Microsoft 365 permissions and your Purview information protection controls. If a file is encrypted by a sensitivity label, users need the EXTRACT and VIEW usage rights before Copilot can summarize it; otherwise, Copilot won’t use the content in a response.
You can go a step further and create a Purview DLP policy for the Microsoft 365 Copilot location to prevent Copilot from summarizing files with specific sensitivity labels. Copilot may still cite those items, but their contents won’t be processed to generate the answer, useful for “Highly Confidential” material you never want synthesized.
While you’re tightening the perimeter, Restricted SharePoint Search lets you limit org‑wide search and Copilot experiences to a curated allow‑list of up to 100 SharePoint sites while you audit permissions. This is especially handy during early Copilot rollouts. For high‑risk sites, Restricted Content Discovery can hide them from tenant‑wide search and Copilot Business Chat until you’re ready.
A durable catalog project starts with a few Purview concepts that you’ll use every day:
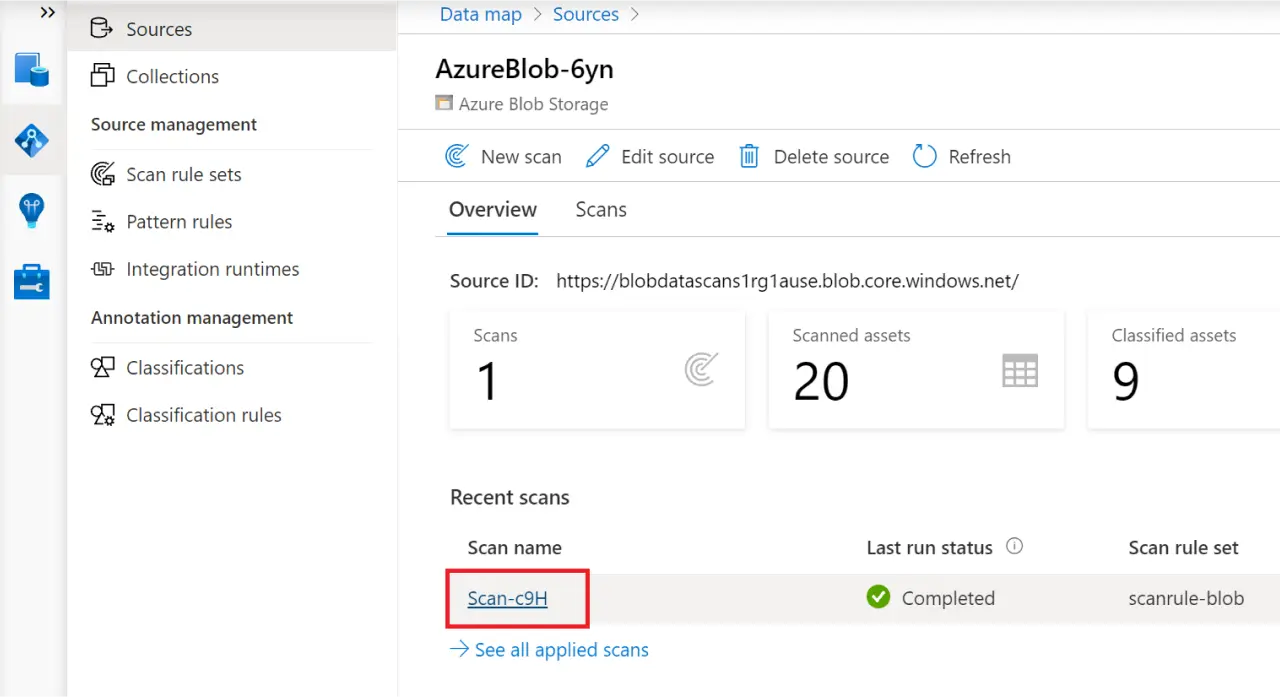
Scanning and ingestion. After you register a source, a Purview scan connects, captures schema and technical details, runs classification, and ingests metadata into the Data Map, and then surfaces it in Unified Catalog. Scans can run one‑time or on a schedule. You can tune scope and scan levels (L1 metadata only, L2 schema, L3 schema + classification) to balance completeness and cost.
Classifications and sensitive information types. Purview applies built‑in and custom classifications to identify sensitive content (for example, credit card or national ID numbers). These pattern‑based Sensitive Information Types (SITs) underpin labeling, DLP, and auto‑classification across Microsoft 365 and Data Map.
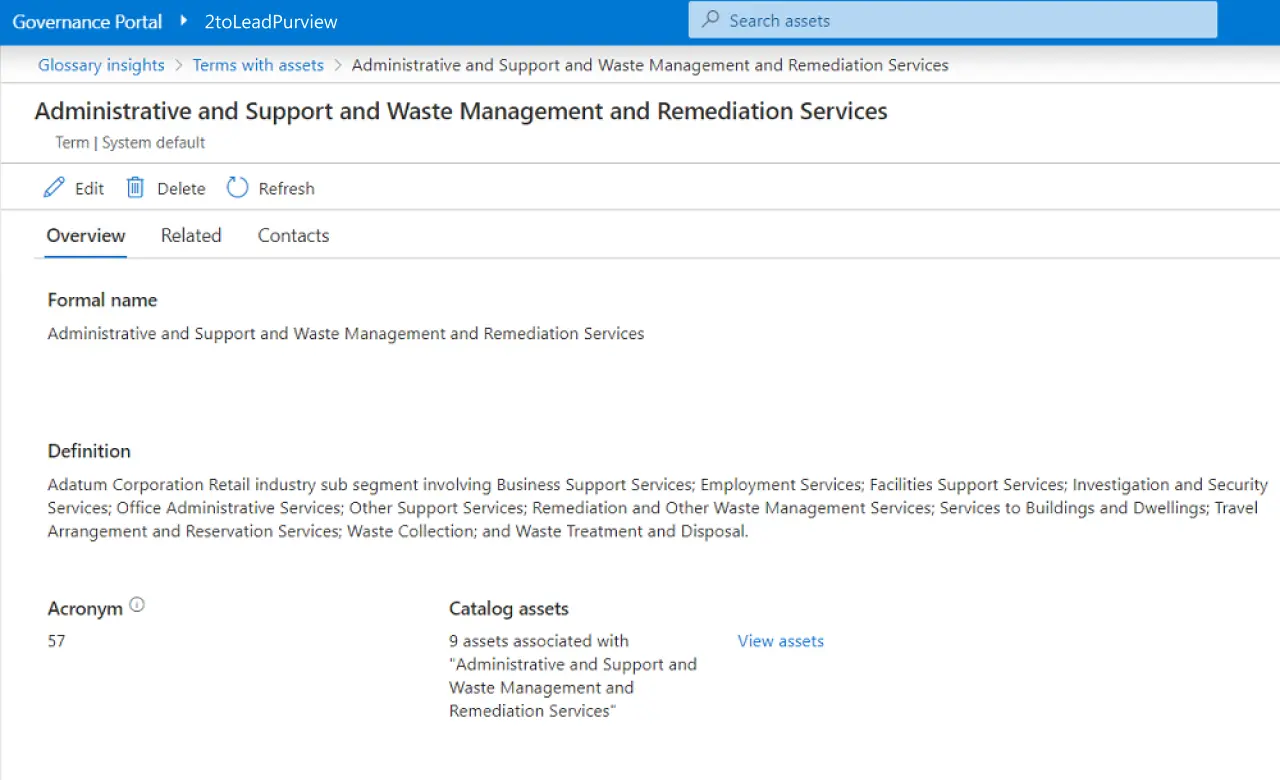
Business glossary. In Unified Catalog, glossary terms do more than define jargon; they can be active and carry policies that flow to your data products, so your “Customer” term can mean something concrete to searchers and enforce how those data products should be governed.
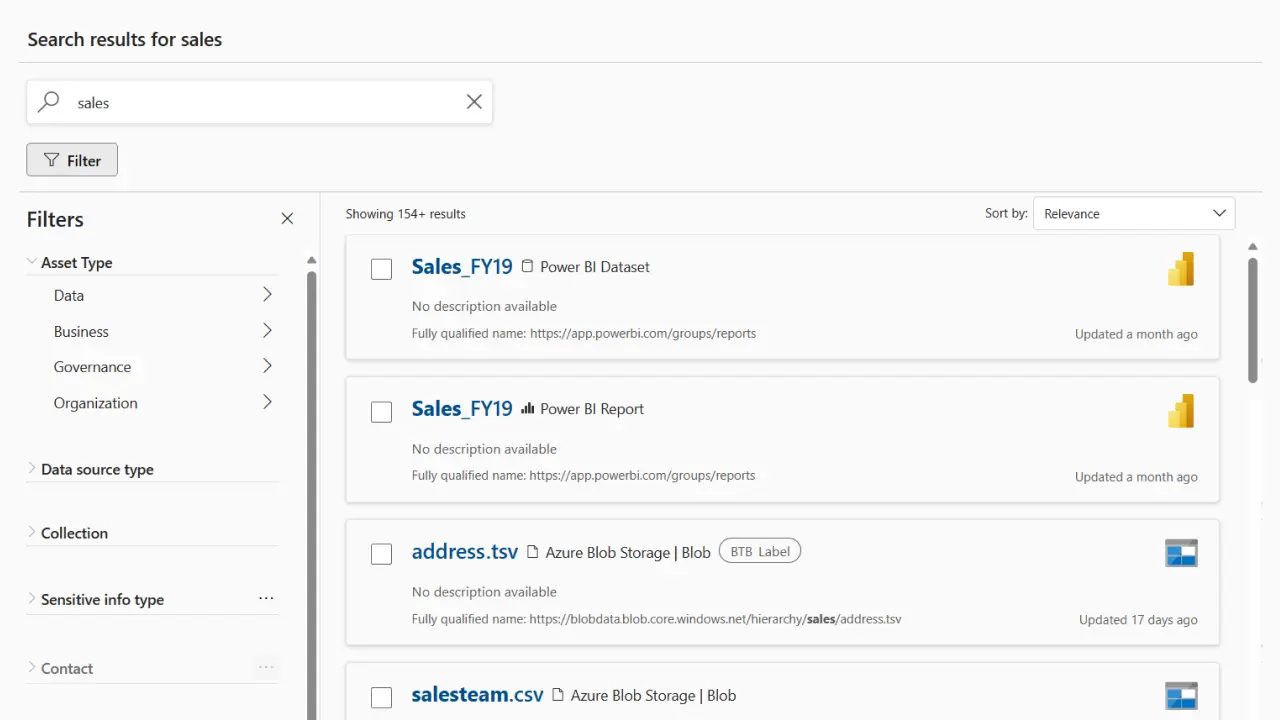
Search and natural language. The catalog supports keyword and natural‑language search (“I need three years of revenue by region”), helping non‑experts find curated data products quickly. Access requests flow from the catalog to owners for approval.
For SMB admins, the most common confusion is around Microsoft 365 content:
So where does Data Map shine for cataloging? Everywhere else you run analytics: Azure SQL, Azure Storage (ADLS Gen2, Blob, Files), Snowflake, Amazon S3, and more, as well as Power BI and Fabric for metadata and lineage.
Start small and get value early. Create your Purview account with the default one capacity unit and let the Data Map autoscale as needed; watch storage and operations in the Azure metrics blade so you understand costs as your catalog grows.
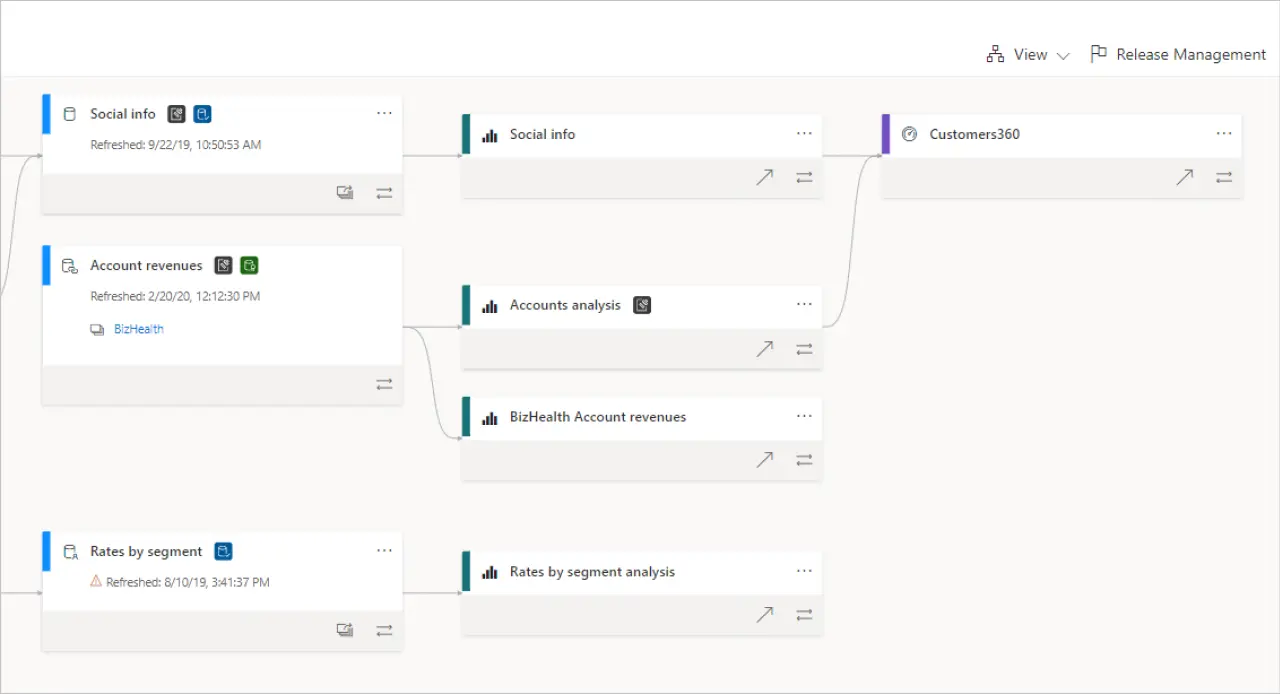
Begin with the one place your users live every day: Power BI. Register and scan your tenant so reports, datasets, and dataflows show up in Unified Catalog with lineage back to their sources. It’s a quick win: users can search the catalog and see where a report’s numbers come from, while you get visibility into upstream SQL and files you should scan next.
Then add your highest‑value data sources: the Azure SQL that powers your dashboards, the ADLS Gen2 containers where your CSVs and Parquet live, the Snowflake account your data team uses for models, or an S3 bucket with raw exports. Register, scope the scans to the relevant folders or schemas, and schedule. Because L3 scans perform sampling and classification, use them where you want sensitivity identification; drop to L2 if you only need schema and want to conserve cycles.
As assets flow in, curate immediately. Add owners and stewards, write plain‑English descriptions, link to usage guides, and attach glossary terms. This is where the catalog becomes more than a directory: people can search the way they think, not the way your storage account is laid out. Over time, organize assets into governance domains and collections that mirror how your business works, not how servers are named.
Finally, light up natural‑language search for data products and onboard a handful of early adopters. Ask them to find a dataset using a problem statement (“Show me customer churn by plan for last fiscal year”) and log where the catalog helped, where descriptions were thin, and what access they needed.
See our step‑by‑step Purview setup checklist and pitfalls to avoid.
Sensitivity labels aren’t just for Office files. You can extend Purview sensitivity labels into the Data Map so labels are applied to assets (metadata) across Azure and multicloud stores based on classifications. This capability is currently in preview, and labels in Data Map are applied to the metadata, not the raw file or column; use M365 labeling for content protection and Data Map labeling for consistent classification in the catalog.
When you scope or create labels in Purview, include “Files & other data assets” so those labels are available to Data Map auto‑labeling policies. That way your catalog reflects the same taxonomy your users see in Office, and your DLP/Copilot controls can reference the same labels everywhere.
A safe Copilot experience is a mix of identity, labeling, DLP, and SharePoint controls, no extra agents required.
Use sensitivity labels with encryption so only authorized users can open or have their content summarized by Copilot; without EXTRACT/VIEW rights, Copilot can’t use the content. Layer DLP for the Microsoft 365 Copilot location to block summarization for the most sensitive labels across apps.
Combine with Restricted SharePoint Search and, for the riskiest sites, Restricted Content Discovery so overshared content isn’t surfaced while you fix permissions. If you need to restrict entire sites to specific groups while you remediate, use the Restricted Access Control policy in SharePoint.
Run scans off‑hours and scope them narrowly at first; you can always widen later. Favor Managed Identity where possible to avoid secret sprawl and reduce setup friction.
Document a tiny “catalog style guide” for descriptions so every entry has the same basics: what it is, who owns it, when to use it, known caveats. And remember that Unified Catalog holds metadata only; giving someone catalog read access doesn’t grant data access. That separation keeps onboarding lightweight
You’ll notice fewer “Do we have a dataset for…?” messages and faster Power BI turnaround because analysts can self‑serve. You’ll field fewer Copilot surprises because the combination of labels, DLP, and SharePoint controls catches sensitive material before it shows up in a summary. And your audits get easier, because lineage plus glossary gives reviewers the “what,” “who,” and “why” for critical assets in one place.
The point isn’t perfection; it’s a living catalog that gets better as your team uses it.


Join Our Newsletter